Sewing a Cloak for Cosplay
- Jade
- Mar 27, 2019
- 1 min read
Updated: Mar 28, 2019
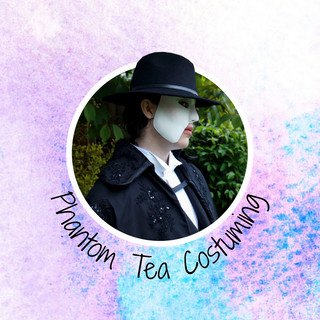
My Phantom of the Opera cosplay involved sewing a rather large, dramatic cloak. This cloak was actually rather simple to make, despite looking complicated. It also involves a little bit of maths, so be warned!
· Follow this tutorial for creating your pattern pieces. This is easier to understand than me writing out how to do this.

· I proceeded to cut six pieces of this pattern. Three of them were from my outer cotton fabric, and the other three were from my inner lining fabric.
· I pinned two of the lining pieces right sides together, and sewed along one of the straight edges with a running stitch. I then unfolded one of these pieces so it was right side up. I placed the third piece on top, right side down, and sewed along the remaining straight edge. I did this with the outer fabric too, so that I had two cloaks.

· I pinned the two cloaks right sides together, and sewed along each edge except for the neckline. I then turned this inside out and ironed it. I hemmed the neckline edge – making sure not to sew the two together (so that I could still reach inside). I now had a basic cloak that I could add my collar, appliques and beading to!

If you would like a more detailed tutorial on how I made my Phantom cloak, please let me know! Hopefully this will help you in making a basic cloak for your cosplays.


Comments